
Surreal Self Portrait Photography: Fragmented Light Through Glass
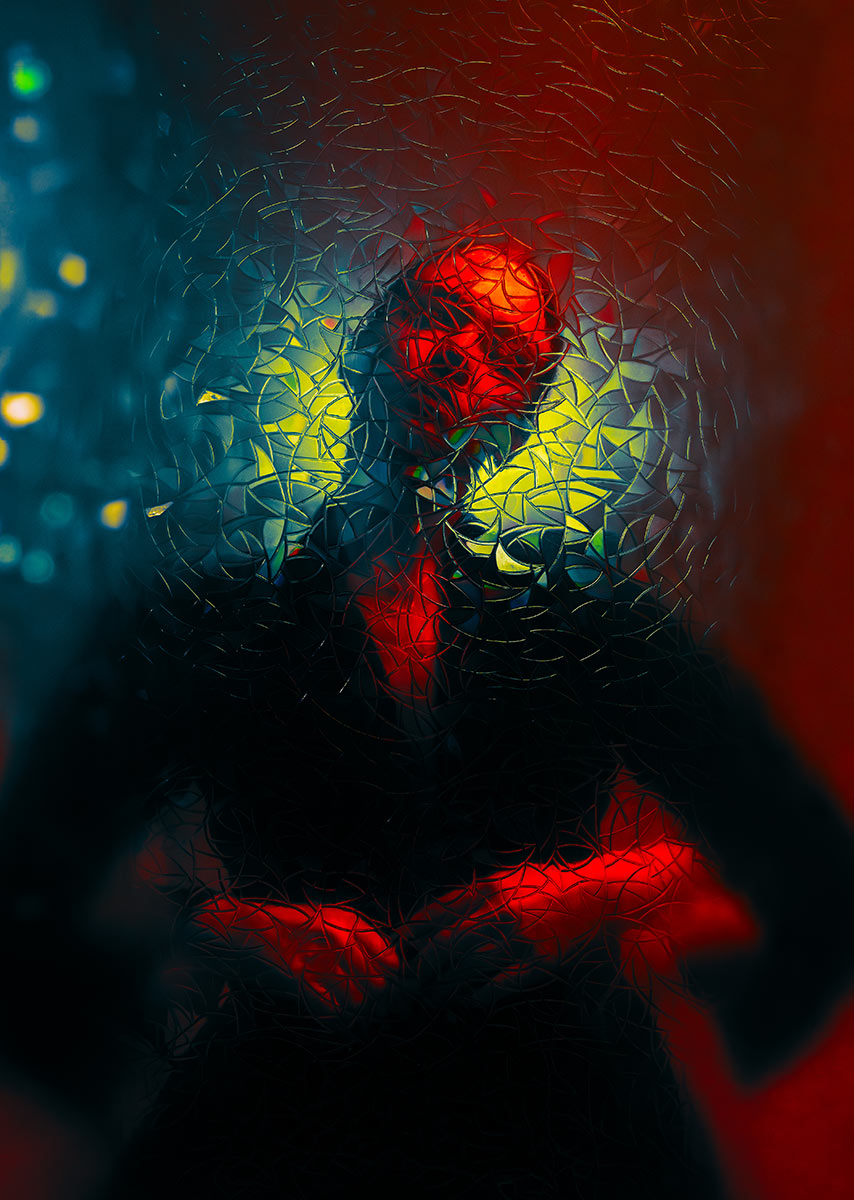
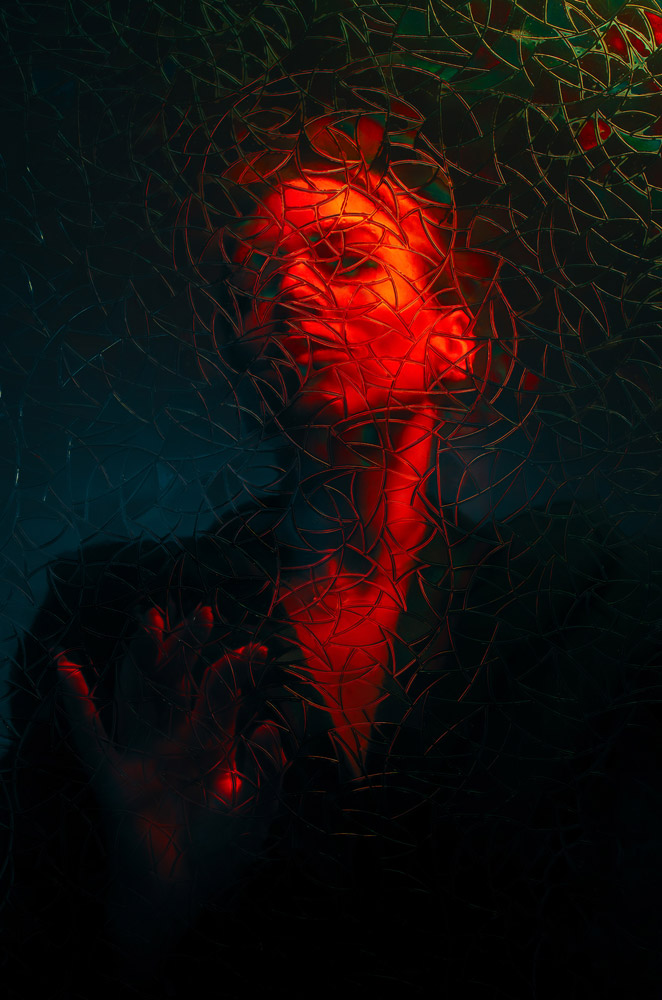
A surreal self-portrait created through optical layering: textured film on glass, a split-diopter prism filter, and controlled LED/spotlight placement. A study of fragmentation, depth separation, and color tension, finished in Lightroom.
16.02.2026 by Sabine Fischer
Optical Distortion Study
The fractured surface in front of the lens is a self-adhesive window film applied to a thin sheet of glass, positioned between camera and subject. The irregular geometry of the film breaks the image into micro-facets, creating a fragmented surface without destroying form.
I was interested in how much distortion a portrait can tolerate while still remaining recognisable.
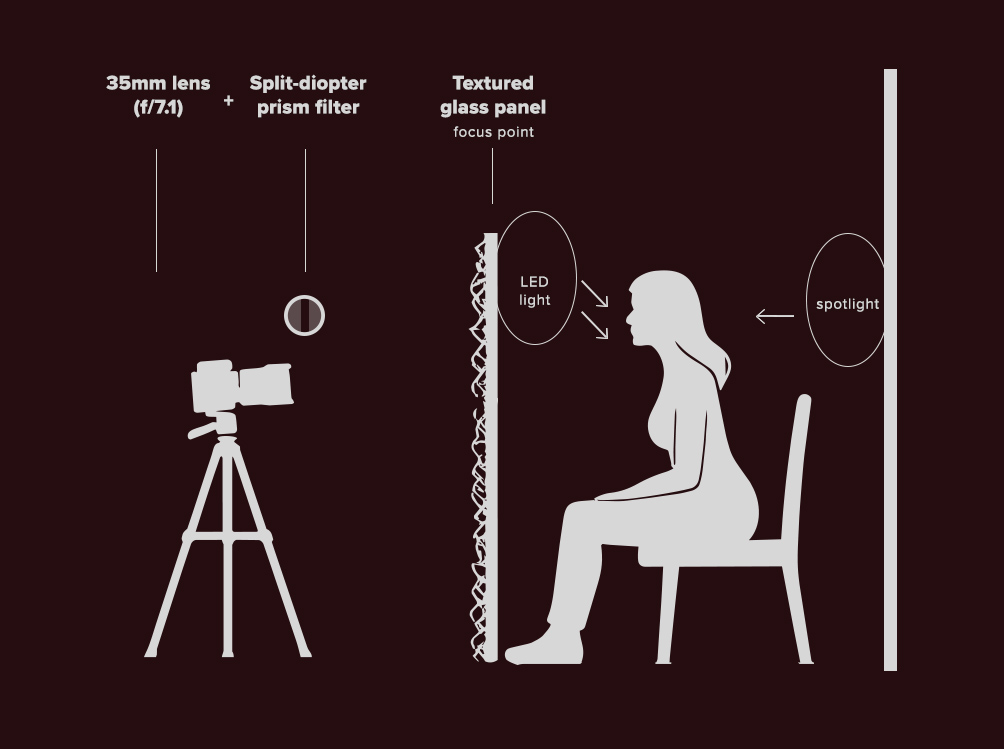
The glass was placed close to the lens (35mm) to exaggerate depth separation. A split-diopter style prism filter intensified the spatial shift and introduced selective blur across the frame.
Behind my head, a focused spotlight creates a halo-like illumination. It was positioned slightly above and behind me to allow the fractured surface to catch and scatter the light. This is what produces the glowing, almost crystalline aura around the head.
A single LED light, mounted slightly above and to the right, defined the face. The light was controlled and directional. The aim was structure.
The spatial relationship between lens, glass and light is central to the image. The diagram below illustrates the physical setup behind the final frame.
This image relies entirely on in-camera optical layering. The textured glass acts as the primary focus plane, while the split-diopter filter introduces controlled spatial displacement. The separation of LED key light and rear spotlight creates depth.
Color Calibration in Lightroom
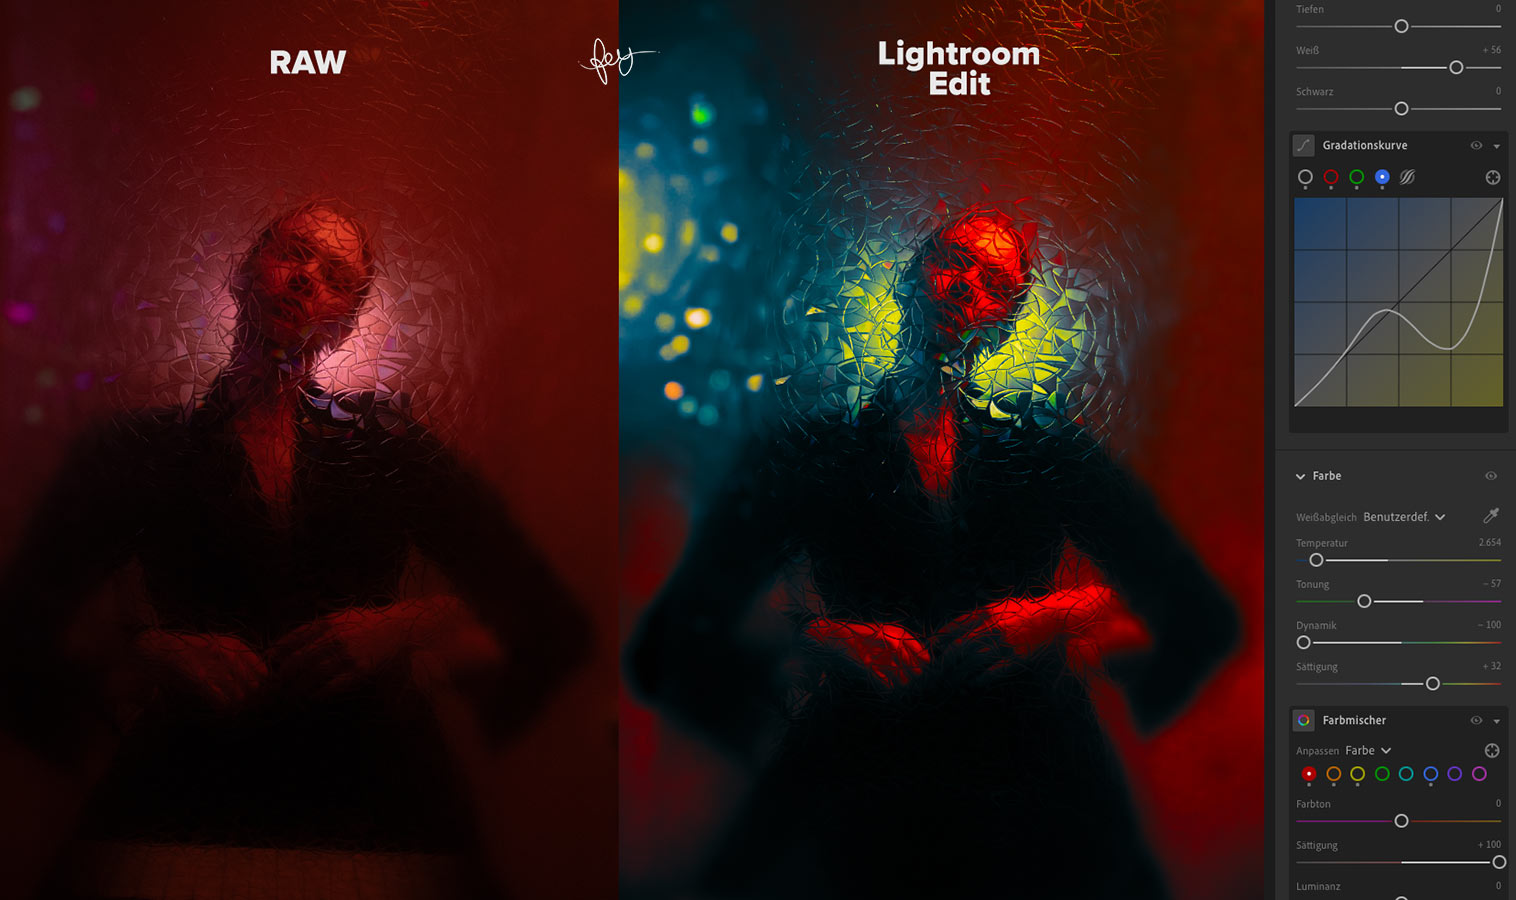
The final colour balance of this image was not immediate. It evolved over time.
The RAW file carried the structural information, but the emotional temperature of the image had to be calibrated carefully. The process focused primarily on five controls in Adobe Lightroom: Highlights, Tone Curve (Blue Channel), Temperature, Tint & Vibrance.
Highlights
The highlights were deliberately reduced to protect the halo effect created by the backlight. The fractured glass catches and scatters light unpredictably; preserving detail in these areas was essential to avoid flattening the glow into a uniform patch. Reducing Highlights also deepened the perceived texture of the micro-facets.
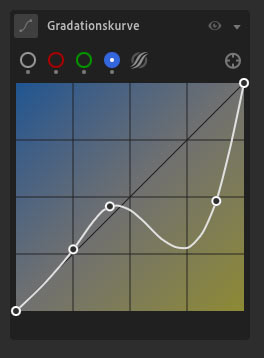
Tone Curve – Blue Channel
The most decisive shift happened in the Blue Channel of the Tone Curve.
By subtly lifting and lowering specific tonal ranges within the blue channel, the shadows gained density while midtones shifted toward cyan and the highlights retained warmth. This created the tension between cool spatial depth and the red core of the figure.
The blue curve was not used for correction, but for separation.
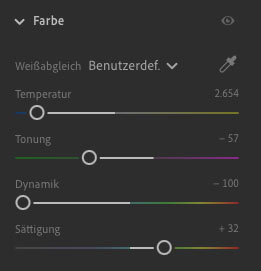
Temperature & Tint
The Temperature was adjusted to balance the red dominance of the scene. Without counterweight, the image collapsed into monochrome heat. A controlled shift toward cooler values introduced contrast between planes.
Tint was equally important but it moved in the opposite direction: I shifted it toward green to neutralise the magenta cast and keep the cyan/teal tones clean rather than sugary or overly neon. This helped the cool areas read as depth instead of color noise, and kept skin and background visually coherent.
Unlike Saturation, Vibrance selectively intensifies muted colors without oversaturating already dominant hues. This allowed the cyan and yellow reflections in the fractured surface to emerge without pushing the reds into clipping.
On Color Translation
Finding the final color translation took time: Some images resolve in minutes or hours. Others require distance. Days. Sometimes weeks.
The color was not chosen for drama but calibrated until the visual balance between warmth and depth felt stable for me. It was refinement.
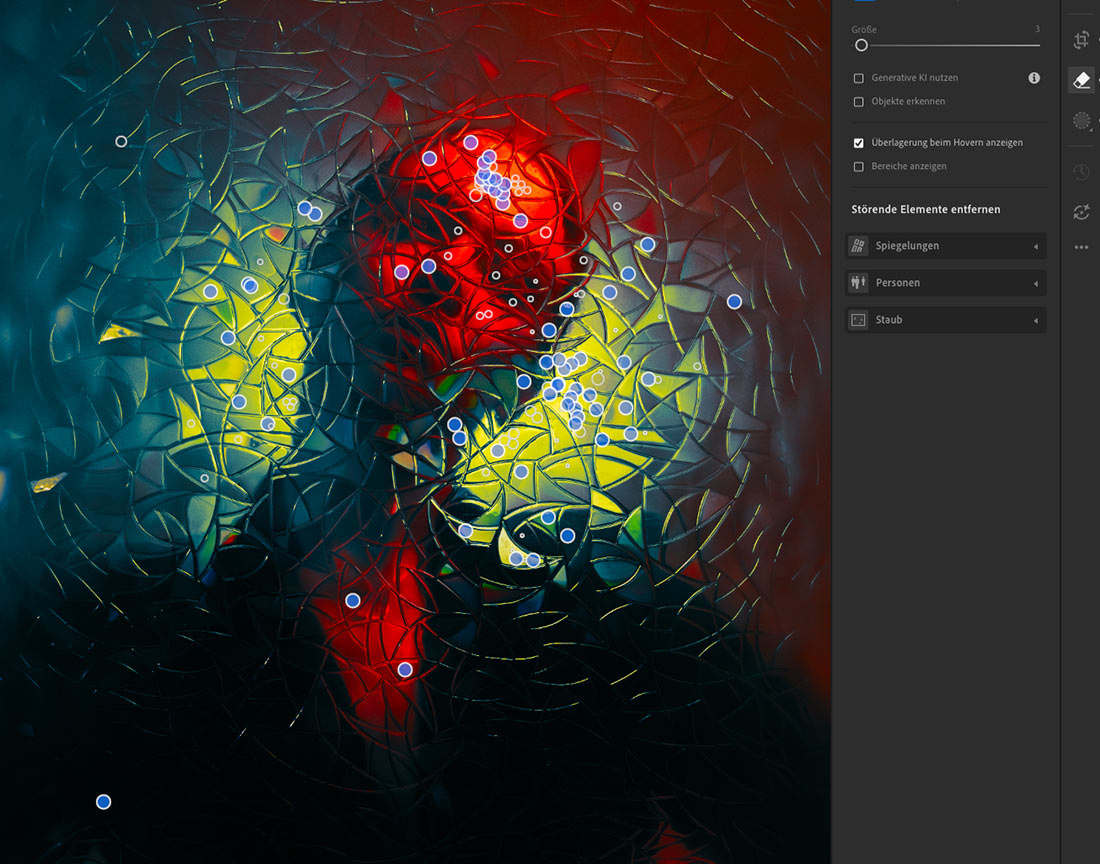
Surface Imperfections & The Remove Tool
The textured window film applied to the glass introduced an unexpected complication: air bubbles.
Small pockets of trapped air remained visible across the surface. In a traditional workflow, these would have been corrected in Photoshop, where retouching is often faster, more flexible and precise.
For this image, however, I chose a different approach: I deliberately used Lightroom’s Remove Tool to eliminate the most distracting air bubbles directly within the RAW workflow.
For the first time, I wanted to export a final image directly from Lightroom without transferring the file into Photoshop for additional retouching.
A Typographic Evolution
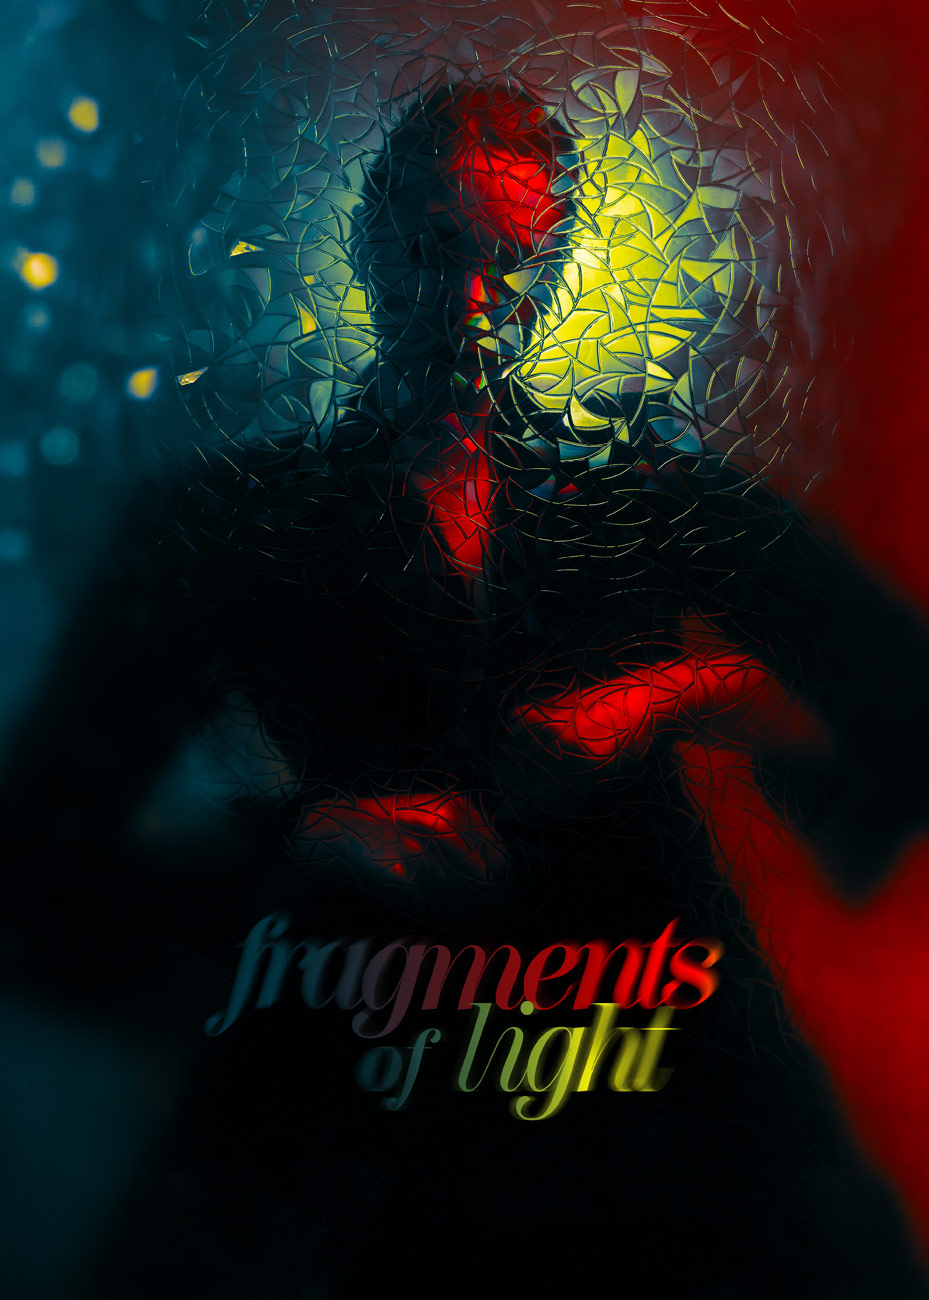
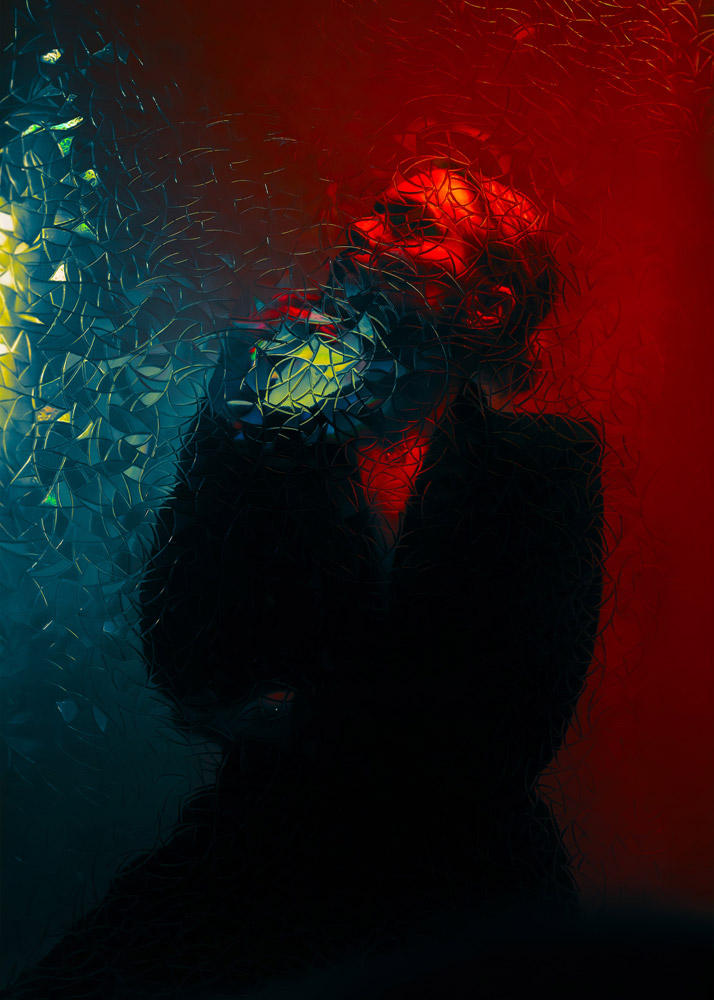
This next image is a second photograph from the series made with the same optical setup.
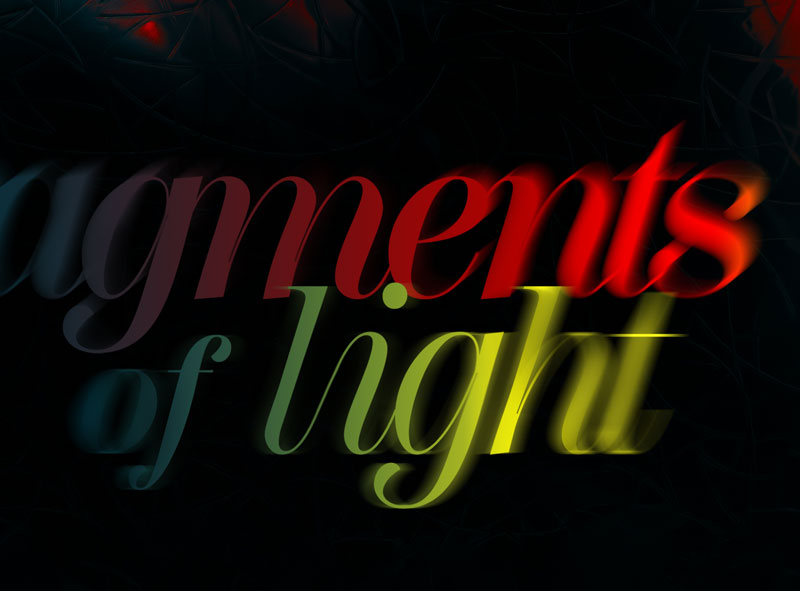
I occasionally create cover-like title frames for my self-portrait series: a small typographic intervention that turns an image into an edition. For this piece I set the title in Scotch Display and placed it where the colour tension of the frame could carry the words.
To make the typography belong to the image, I used a selective blur in Photoshop using Blur Gallery → Path Blur, echoing the optical smear and spatial displacement created by the textured glass and prism filter. The letters reflect the image, and the image reflects the letters. A quiet reminder that photographs can keep evolving long after the shutter click.
The typographic treatment follows the same logic as the image itself. Just as the textured glass fractures the portrait into micro facets, the letters are subtly displaced and blurred, creating a secondary layer of optical instability.
More works from this series

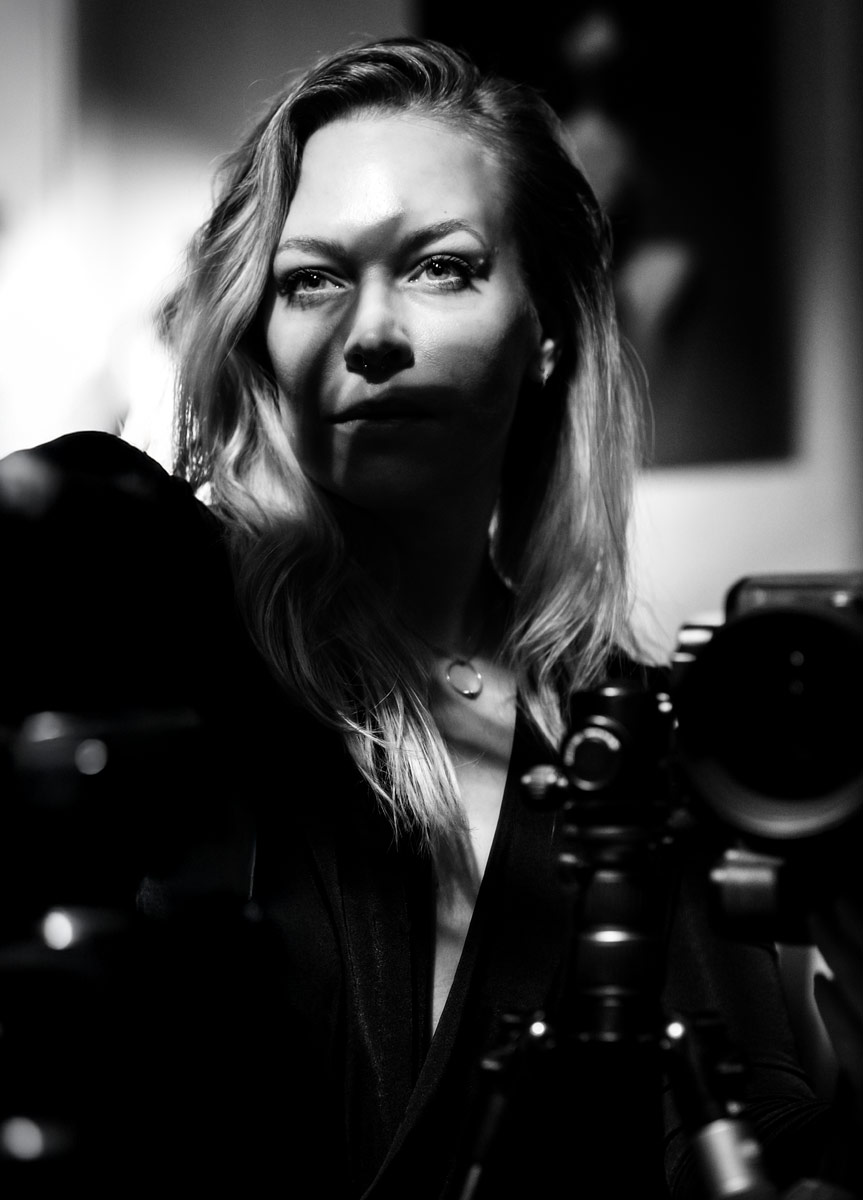
About the artist
Hey, I am Sabine / sabinefey, a self-portrait photo artist and graphic designer based in Germany. Since 2008 I’ve been exploring experimental self-portrait photography using light, projection, fog, movement, and surface interventions like oil-on-glass to translate inner states into visual form.
Equipment: Nikon D850/D750 · Sigma 35mm & 50mm f/1.4 Art
Discover new self portrait photography projects, behind-the-scenes insights, and visual experiments. Selected works are available as limited edition fine art prints. For collaborations, exhibitions, interviews, or creative exchange, feel free to get in touch: hello@phoenixstudios.de